Sunday, November 29, 2015

Creamy Lemon, Turkey and Wild Rice Soup


Happy Thanksgiving!...Well, maybe 3 days ago!

Thanksgiving is over, and like most Americans, our fridges are filled will leftovers. What to do with all of that leftover turkey? Sure, we could make the same old boring sandwiches, but don't we eat turkey sandwiches all year round? I know I do--turkey clubs are awesome!

So, what about soup? Soup is comfort food, and what better way to face the chill than with a hot bowl of creamy turkey soup?

This recipe uses up that leftover turkey, yet tastes nothing like those holiday leftovers you're growing weary of. We think you'll agree, this lemony twist on leftover turkey will be one "leftover" recipe you'll turn to often.


Ingredients:

2 cups of diced, cooked turkey
2 packages of instant wild rice (cooked)
15 baby carrots--chopped
2 stalks of celery--chopped
1 large yellow onion--diced
4 tablespoons of butter (heaping)
4 teaspoons of flour (heaping)
2 cans of chicken broth
1 pint of half & half
2 lemons--juiced
Parsley
Salt and pepper


Directions:

Prepare the two packages of instant wild rice, and set aside. *We had one box of wild rice with barley on hand, and it worked well. ☺


In a Dutch oven, melt butter on low heat, then add carrots, celery, and onion. Toss veggies in melted butter. Cover, and cook on medium heat (stirring often) until vegetables are tender.


Uncover, add 1/2 can of chicken broth to your pot, and let simmer. Slowly add flour and stir until dissolved. Add the rest of your can of broth, and allow broth to bubble. Add second can of broth, and carton of half & half. Stir well. Add parsley (about a teaspoon), and stir well again.


Add diced turkey and stir into broth.


Add lemon juice. Be sure to strain pulp before adding.


Add a few dashes of salt and pepper to taste. Simmer uncovered on low for 20 minutes. Serve and enjoy! ☺


Sunday, August 16, 2015

Spinach Enchiladas


The Saucy Sicilians decided to spice up our Sunday afternoon with a little something South-of-the-border. We had some green enchilada sauce on hand, and it does no good just sitting on the shelf. With the addition of spinach and Mexican cheeses, these enchiladas were an amazing meat-alternative dish! Served with Mexican rice and vegetarian beans, we could barely move after two servings. Yes, they're that good! 


Ingredients:

Ingredients for the Sauce:
1 can of green enchilada sauce
1 can of diced green chilies
1 onion, diced
1 clove of garlic, minced
1 Tbsp of margarine
Juice of 1 lemon
1 cup of Half & Half
Sugar
Salt
White pepper (or black fine pepper, if you don't have white)

Ingredients for the Enchiladas:
24 small corn tortillas
Vegetable Oil (optional)
1 package of fresh spinach
1 package of Mexican cheese (reserve a handful to sprinkle over top of dish)
1 small can of diced olives
3 green onions, chopped
Sour cream (as a topping)

Weapons of Choice:
Large sauce pan
9" x 13" baking pan (or dish)
Stir spoon
Paper towels
Fry pan (optional)


Directions for the Sauce:
In a large saucepan, saute margarine, garlic and onions on high for about two minutes. 

Add enchilada sauce, green chilies, and juice of lemon. 


Add half & half and, bring sauce to a simmer. Add sugar, salt, and pepper to taste.


Directions for the Enchiladas:
Preheat oven to 375 degrees.

Spread some of the enchilada sauce in the bottom of the baking pan. Have a towel handy, because this next part is messy. ☺

It's your preference if you prefer to lightly fry your tortillas in oil before filling and rolling. We choose not to as a healthier alternative, but this method of frying will make your tortillas a bit more pliable, and may ensure they do not break apart when filling and serving. We microwave ours for a few seconds with wet paper towels. Either method works well. 

Take softened tortillas and fill with cheese and spinach. Carefully  roll each tortilla, and place seam side down into your baking pan (this is where that towel comes in handy). Repeat with 12 enchiladas per row; you will end up with two rows. 

Pour the remainder of the enchilada sauce over your rolled enchiladas, coating each enchilada generously. Sprinkle cheese, green onions, and olives over enchiladas. 


Bake at 375 degrees for 30 minutes, or until dish is bubbling. 


Plate enchiladas, and top with sour cream. Serve with rice and beans. 


_____________________________________________________________________________

Our sides:


Our simmering homemade Mexican rice with green onions, tomatoes, and Spanish rice seasoning.

Vegetarian Refried Beans


Spiralized Zucchini and Squash with Alfredo


Spiralized vegetables are a tasty and healthy alternative to durum wheat pasta, and even whole wheat pasta. Looking for a way to cut carbs and add more veggies to your diet? Want to learn how to make our version of almost-guilt-free Alfredo? Try this amazing recipe! 

Spiralizing: The New Noodle
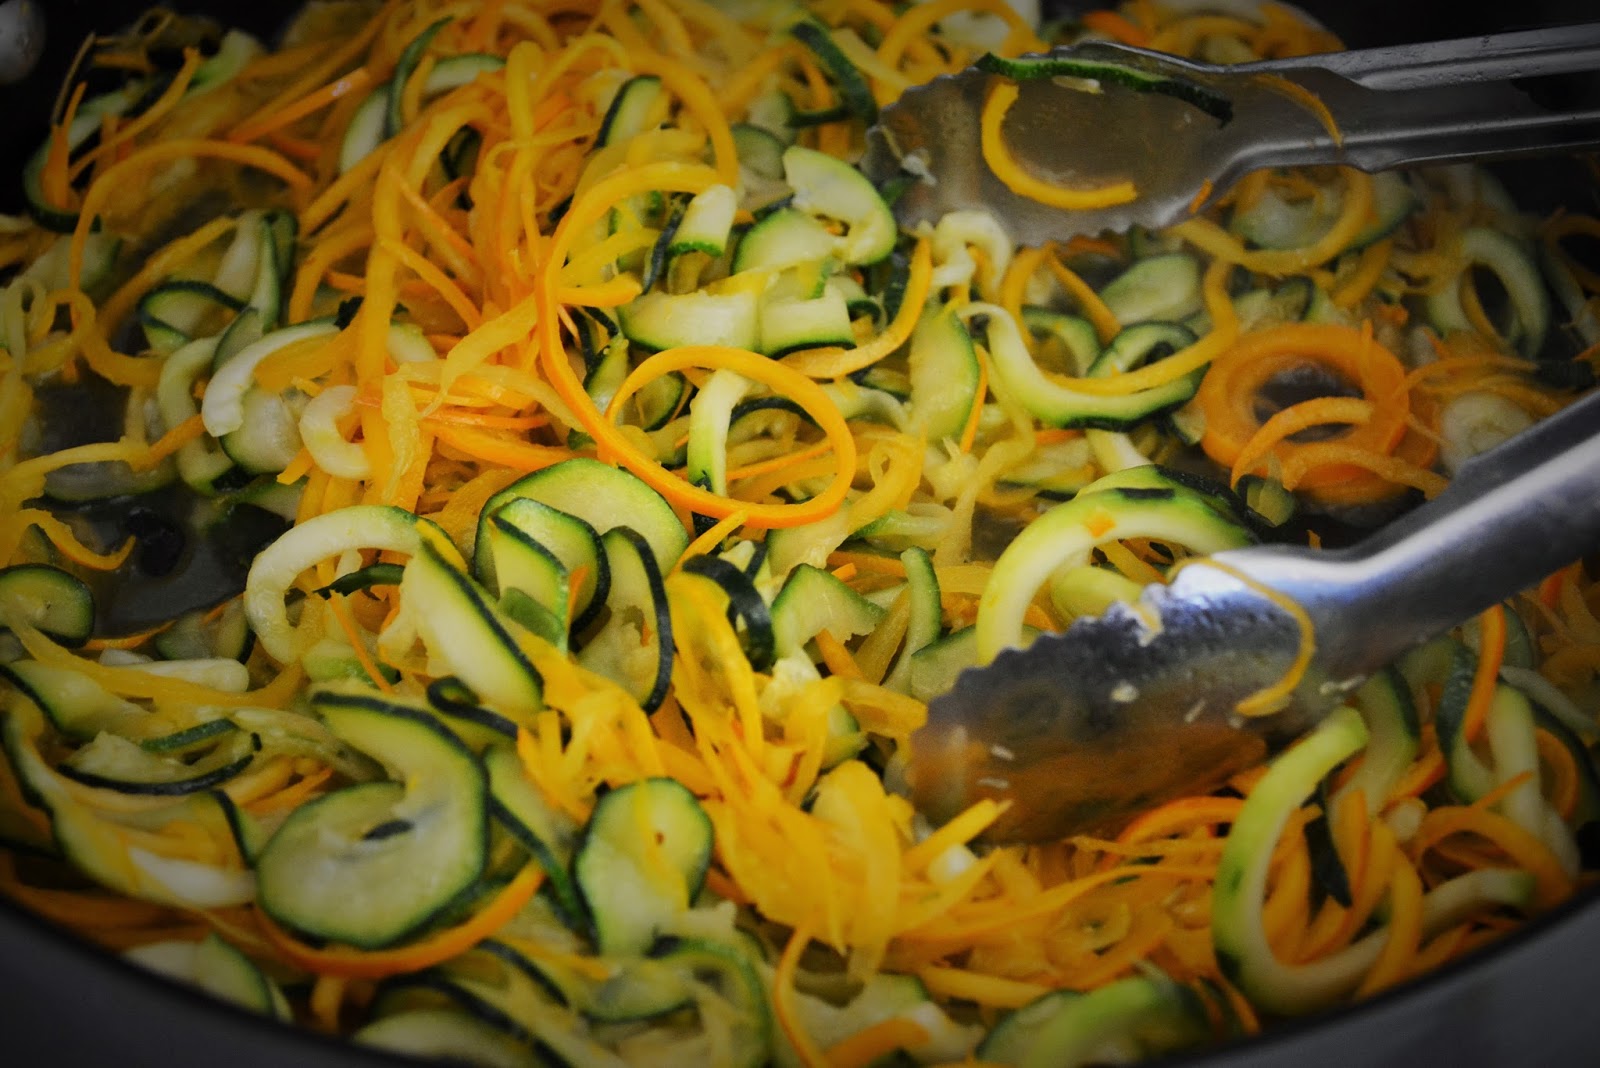
Just what the heck is spiralizing? A Spiralizer is a simple machine that creates pasta noodles from vegetables. Using a hand crank, fresh vegetables--such as squash and zucchini--are pressed through a blade to create long vegetable noodles. Our spiralizer came with three different blades, so we decided to use all three to try the different cuts and textures: spiral ribbon cuts, shoestrings, and vegetable "noodles". 

Wondering where to buy? We got ours here: http://www.williams-sonoma.com/products/paderno-sprializer/

You can also find spiralizers on Amazon, but who doesn't like perusing Williams-Sonoma. *;) winking

We decided to test run our new gadget by spiralizing summer squash and zucchini. Machine operation is incredibly quick and simple, and the machine itself is easy to clean. 


The different cuts were impressive! The straight blade (left) would be excellent for cucumber salad, and the chipper blade (center) would be perfect for creating curly fries and onion rings. The shredder blade (right) is ideal for creating pastas. 


For our "test run", we decided to try spiralizing our squash and zucchini with the skin left on. This resulted in a crunchy texture to the noodles. We determined we'd like this dish even more if we skinned our veggies first, resulting in a softer texture. Saute time is only 5 minutes, which is just long enough to soften the "pasta", but not enough time to tenderize the skin. No worries--that's what test runs are for, and through trial and error, we save our readers time! *:) happy But, if you prefer skin-on, go for it! 


The recipe...

Ingredients for Noodles:
2 large, straight summer squash (peeled) (note: the straighter the veggie, the easier to spiralize)
2 large, straight zucchini (peeled)
1 Tbsp olive oil

Ingredients for Alfredo:
1 tsp of minced garlic
2 Tbsp of margarine
2 Tbsp of all purpose flour
1 Tbsp of olive oil
1/2 cup of chicken broth
1 cup of skim milk
1 cup of Italian cheese (we used a blend)
A dash of Garlic salt and pepper

Weapons of Choice:
Paderno Spiralizer
Large saute pan
Tongs
Medium stirring spoon 


Directions:
Using your favorite spiralizing blade, spiralize zucchini and squash. Place into saute pan and add about a Tbsp of olive oil. Saute on high heat, tossing noodles and olive oil with tongs. Cook for approximately 5 minutes, or until noodles cook down, and water starts to accumulate at bottom of pan. Remove from heat. 


Place noodles in large strainer, and set aside. 


While noodles are straining, make your Alfredo. 

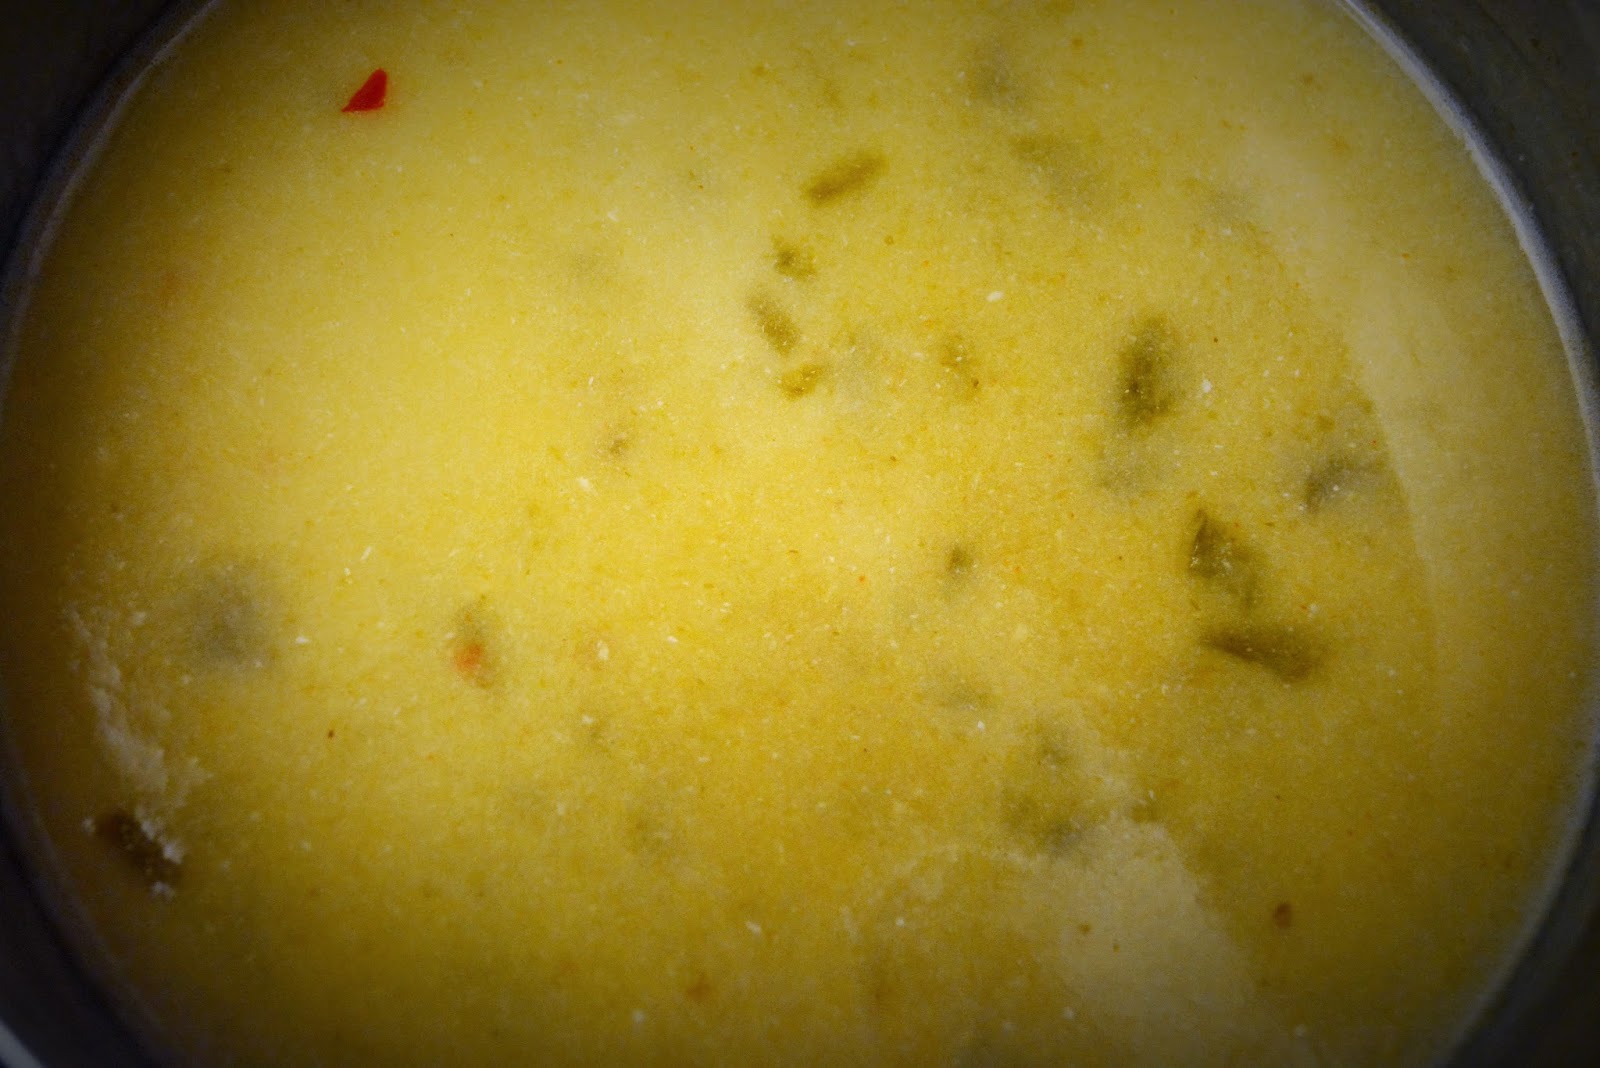
Add garlic, olive oil and margarine to saute pan. On medium heat, saute until garlic is lightly browned. Add flour; stir well until flour is completely saturated. Mixture will be slightly lumpy.


Increase heat to medium-high. Add chicken broth, and continue to stir well until flowery lumps disappear. 


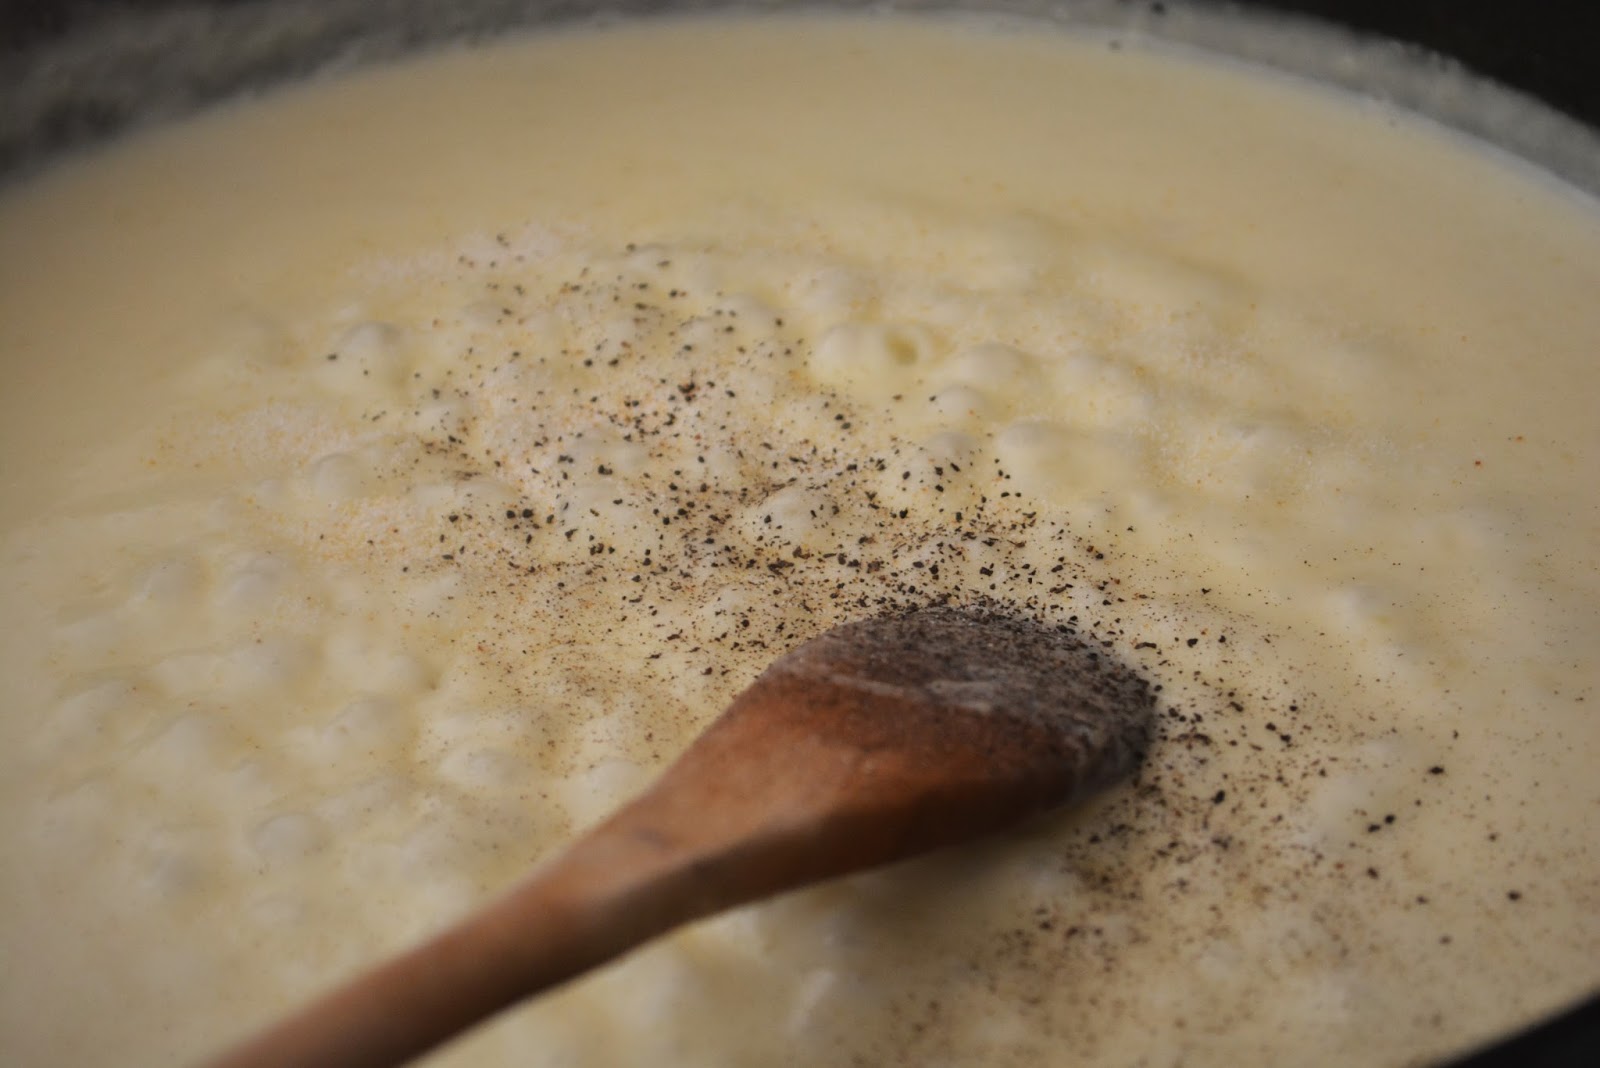
Add milk, and stir until sauce becomes bubbly and takes on a creamy texture. Once sauce bubbles, add cheese, and stir until cheese melts completely. 


Add a dash of salt and pepper to taste. 


After sauce is to desired thickness, add strained noodles, and toss until noodles are completely coated. 


Then serve! 


Healthier Eating:
To be mindful of our hearts and waistlines, we often cook using ingredients which are lower in fats, cholesterol, and sodium. For this recipe, we use skim milk and margarine. If you choose, you can create a richer sauce using cream or whole milk, and real butter. However, once you add cheese to our version, this sauce is so good, you won't be able to tell the difference. And unlike Alfredo made with cream, this sauce does not take on a sticky, pasty consistency when the pasta cools. Take our advice, and give our healthier version a try. We don't think you'll be disappointed. *:) happy


Saturday, February 7, 2015

Guacamole

Avacados are always readily available in southern California. They cover the hillsides in sunny San Diego county, and are sold at roadside stands for just pennies on the dollar. Naturally, avacados are a staple fruit for many San Diegans. Avocados are very mild, and often we find avocado dips lack taste. We assure you this easy and yummy avacado dip is full of flavor. Keep this one on your list for upcoming spring and summer parties. Double the recipe, because it won't last long! 

Ingredients:

8 small (or 4 large) ripe Hass avocados
1 cup of your favorite salsa (we used Pace)
2 tablespoons of tapatio
1 small lemon
1/4 chopped sweet onion
2 stalks of chopped green onion (reserve some for garnish)
Paprika
Garlic salt

Slice, pit, and scoop avacados into a medium bowl. Smash well with a fork until creamy. Add juice of lemon and mix well. Add salsa and tapatio and mix well. Add salt to taste. Add tapatio. Mix well. Add green and sweet onion. Mix well. Garnish top with paprika and reserved green onions. Chill until served.


Saturday, October 26, 2013

Antipasto

This zesty Italian salad is a perfect addition to any Italian dish, or makes for an excellent healthy lunch. "Homemade" Italian dressing really adds a kick, and meshes nicely with pepperoncinis. If you like spice and zest, you'll love this Italian salad! 


Salad Ingredients:
  • 2 tbsp of croutons
  • 2 tbsp of pepperoncinis--sliced
  • 3 slices of salami, cut into strips (I used turkey salami)
  • 2 cups of mixed Romaine lettuce--chopped
  • 2 tbsp of Parmesan cheese cubes


Dressing ingredients:
  • 2 tbsp. of Roquefort, ranch or blue cheese dressing
  • 1 tsp of balsamic vinegar
  • 1 tsp of olive oil
  • A dash of black pepper


Salad:
Toss ingredients in a large bowl, or arrange separately in a carry container, like above. This is best if the salad won't be served right away. 

Dressing:
Combine all ingredients, and whisk well with a fork.

Whole jar of dressing for refrigerator storage:
  • 3/4 jar of blue cheese, Roquefort, or ranch dressing
  • 4 tbsp of balsamic vinegar
  • 4 tbsp of olive oil
  • 1 tsp black pepper
Add all ingredients to jar, cap tightly, and shake well. 
Shake well before serving. 


Optional
  • We keep a couple of glass salad dressing jars handy for mixing our own dressings. 
  • Raspberry dressing: Substitute 1/2 jar of raspberry balsamic vinaigrette dressing for balsamic vinegar, and add to 1/2 jar of of your choice of creamy dressings listed above. Omit olive oil, and add 1 teaspoon of black pepper. 


Spooky Pumpkin Liqueur Cake

This spooky pumpkin cake is perfect for your Halloween party. Don't let its ghoulish exterior scare you! This cake is made from scratch, and one of the softest, moistest cakes you'll sink your fangs into. 
This cake would be perfectly presented with plastic spooky spiders and slimy slugs. 


Creepy Cake Ingredients:
  • 2-1/2 cups sugar
  •   1-1/4 cups canola oil
  •   3 Eggs
  •   3 cups all-purpose flour
  •   2 teaspoons baking soda
  •   2 teaspoons of ground cinnamon
  •   1 tablespoon of vanilla extract
  •   1 tablespoon of maple extract
  •   1/2 teaspoon salt
  •   1 can (16 ounces) solid-pack pumpkin
  •   ½  cup pumpkin cream liqueur 
Ghoulish Glaze Ingredients
  •          2 tablespoons of melted butter
  •          2 cups of powdered sugar
  •          2 tablespoons of pumpkin cream liqueur
  •          Green, red, and yellow food coloring


Deadly Directions:
Preheat oven to 350°. In a large bowl, combine sugar and oil until blended thoroughly with an electric mixer. Add eggs, one at a time, beating well after each addition. Combine flour, baking soda, cinnamon, vanilla, maple extract, pumpkin cream liqueur, and salt; add to egg mixture alternately with pumpkin, beating well after each addition. If mixture seems stiff, add a bit more oil.

Transfer to a greased 10-in. Bundt pan. Bake 45 minutes, or until toothpick inserted near the center comes out clean. Cool 10 minutes before inverting onto a plate.


Ghoulish Glaze Directions:
Combine melted butter, powdered sugar, and pumpkin cream liqueur, and whisk well. Reserve 3 heaping tablespoons of glaze to a separate small dish. Add 1 drop of red, and 3 drops of yellow food coloring to larger bowl of glaze. Mix well. Add more yellow and one drop of red for a more orange color. 

Add 8 drops of green to smaller dish of glaze, and mix well. 


Using your whisk, drizzle peach colored glaze over cake, allowing it to run down the sides. Drizzle green glaze just over the top of the cake. Some will run down the sides, but that's the idea. ;-)


Optional: 

  • Garnish with plastic spiders. 
  • Add more food coloring to orange icing for a deeper orange color. 
  • Add one upside-down green ice cream cone to center, as a stem.

Yield: 12-16 servings.